Custom printed packaging should protect the product, communicate the brand and work with the way the goods are packed and shipped. For export buyers, a useful specification connects all three before production starts.
This guide covers flexible packaging bags and pouches. Select the final structure and print specification with your supplier, and confirm performance with representative samples.
1. Start with the Product and Distribution Conditions
Tell the supplier what the bag will contain, its target net weight and how it will be filled. Explain whether the product is sensitive to moisture, oxygen, light, punctures or leakage. Include the expected storage and transport conditions.
Food, cosmetic products and industrial parts can have different requirements. A film suitable for one application should not automatically be used for another. Clarify the intended use before comparing prices.
2. Choose a Bag Format and Test the Fit
Stand up pouches, flat bottom bags, side gusset bags and flat pouches offer different filling access, shelf presentation and carton arrangements. Confirm how width, height and gusset are measured on the supplier's drawing.
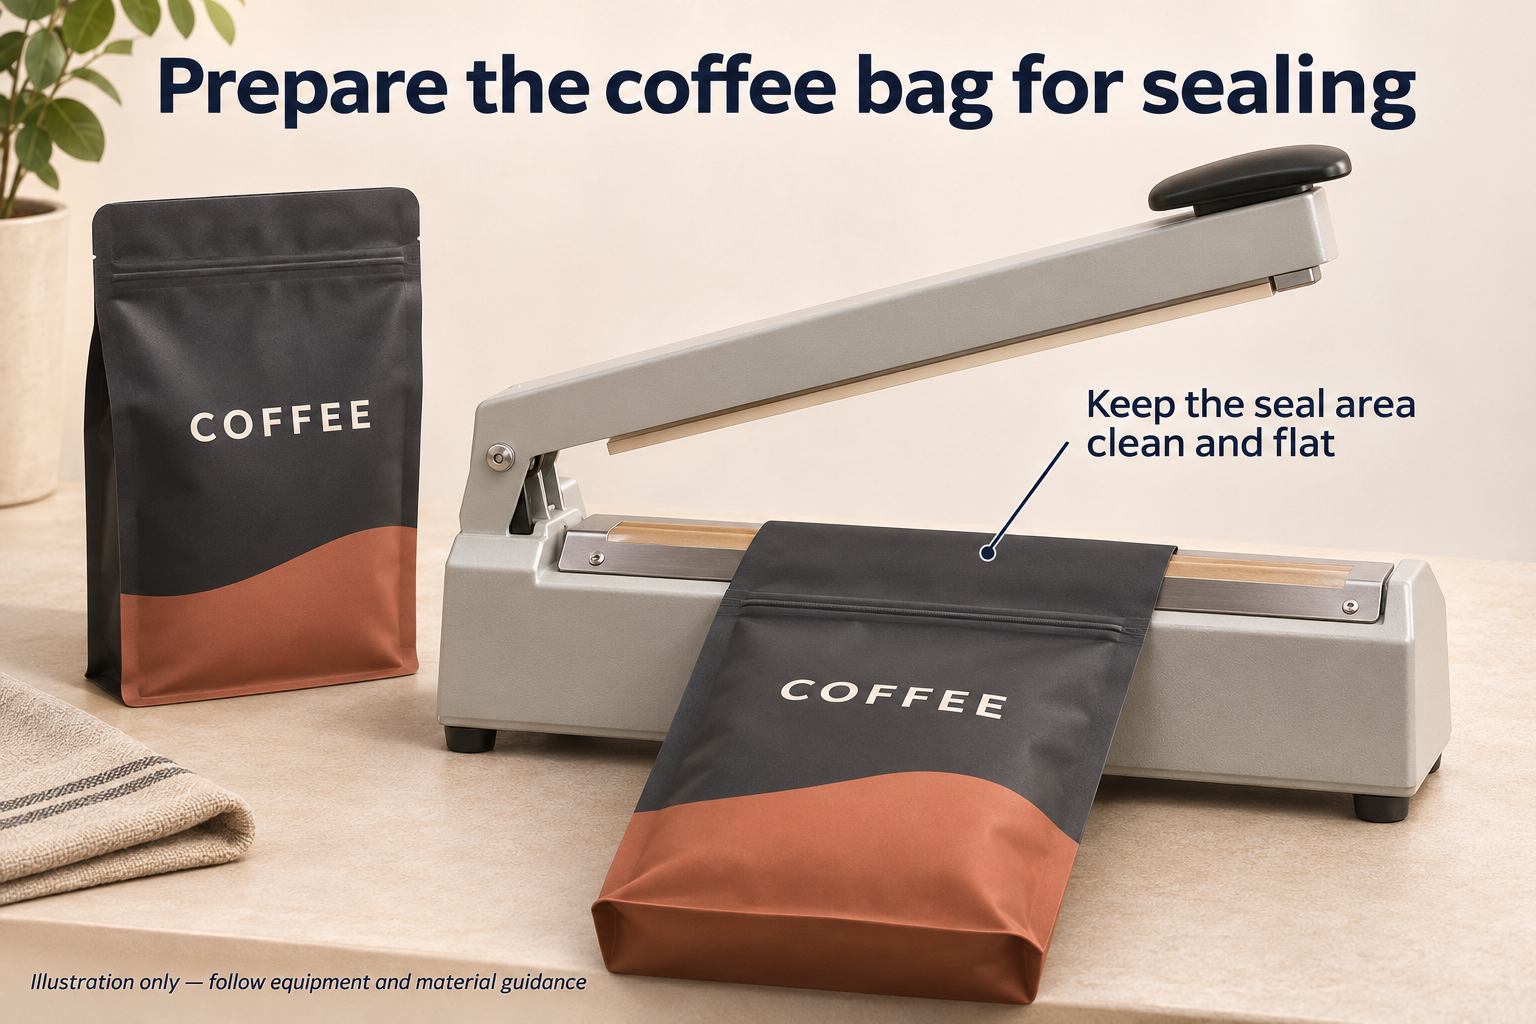
Test the actual product in the proposed bag. Check the usable capacity, clean sealing clearance, pouring or dispensing, and any zipper or spout. For coffee applications, use our coffee bag size guide as a starting point for a filling trial.
3. Agree on the Complete Material Structure
Discuss the function of each layer, the proposed thickness, sealing conditions and any barrier requirements. The complete package includes closures, valves, inks and adhesives as well as the film.
For food-contact applications, ask for documentation relevant to the proposed structure, intended use and destination market. A general statement such as “food grade” does not replace an application-specific review. Confirm who will review legal requirements and product labelling.
4. Prepare Printing Files and Review Proofs
Use the supplier's approved dieline. Mark the front, back, side panels, seal areas and any position that must remain clear. Supply suitable logo files and linked images, and confirm the handling of fonts, colours and barcodes.
A screen preview is useful for checking content and layout. It cannot establish the exact appearance of a printed film. Agree on the appropriate proof or sample process and record the approved reference. See our custom coffee bag ordering checklist for a detailed checklist.
5. Compare Quotations on the Same Basis
Give each supplier the same bag format, dimensions, material specification, quantity per design, closure requirements and delivery destination. Ask which setup, sampling and transport charges are included.
Quantity for each size and design, including acceptable order tolerances.
Printing method and responsibility for any tooling.
Sample and artwork approval steps.
Production schedule confirmed against the approved specification.
Carton packing, shipping terms and delivery responsibilities.
For a comparison of printing approaches, read digital printing vs gravure printing for coffee bags. The decision should reflect the actual job, rather than a universal rule about order size.
6. Check Samples and Shipment Details
Inspect the finished sample for dimensions, readable print, closure function and seal quality. Run suitable product, handling and storage trials. A visual inspection alone cannot establish shelf life or every aspect of package integrity.
Before shipment, confirm carton labels, quantities, protective packing and the agreed inspection records. Keep the approved artwork revision and bag specification with the order so repeat purchases can be compared with the same reference.
Discuss Your Custom Packaging Specification
Send FWPacks your product details, bag format, target weight, dimensions if known, quantity per design and destination. Include the filling method and any specific documentation requirements. Contact our team to discuss a packaging enquiry, or explore custom coffee packaging for roasted beans and ground coffee.